Installation
- 1. Copy files into your website
- 2. Include the files into your web pages
- 3. Initialisation
- 4. Script parameters (optional)
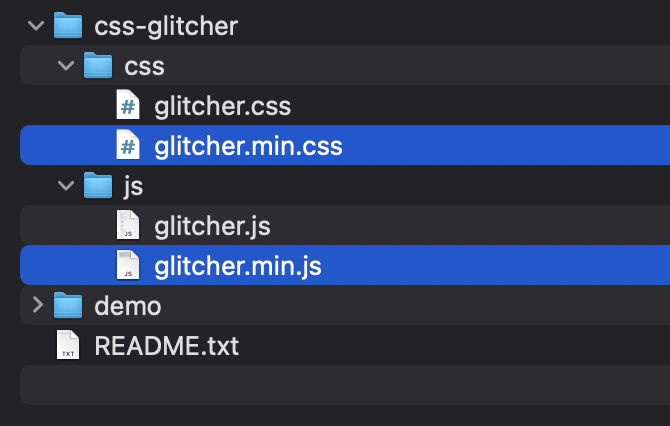
1. Copy files into your website
Copy minify version of files from css-glitcher folder into your website. Be sure you know URL to get access for these files.
2. Include the files to your web pages
Copy and paste code below before </head> tag on your web page using URL to files from previous step:
<script src="css-glitcher/glitcher.min.js"></script>
<link rel="stylesheet" href="css-glitcher/glitcher.min.css">
Be sure you have correct URL based on your file structure
3. Initialisation
You have 2 ways to start the script:
- Add
glitcherCSS-class to<img />,<div>or<picture>elements on your page you want to apply the effect. - Write your own
<img />,<div>or<picture>selector for element on your page you want to apply the effect.
Add glitcher CSS-class
Add glitcher CSS-class to <img />, <div> or <picture> tag you want to apply the effect. If you use div tag please add background image via CSS property background-image or direct in tag element.
Examples:
<img class="glitcher" src="image.jpg">
or
<picture class="glitcher">
    <source media="all" srcset="assets/img/image.jpg, assets/img/image@2x.jpg 2x">
    <img src="assets/img/image.jpg" alt="" title="">
</picture>
or
<div class="glitcher" style="background-image: url('image.jpg')"></div>
or
.div_with_glitcher_class {
    background-image: url('image.jpg');
}
Use your own selector
You can use your own <img />, <div> or <picture> selector instead default glitcher CSS-class. To do it you need to know how to compose CSS-selectors.
Open
glitcher.jsfile and find the code below:// Custom images selector init(".glitcher", { /** * Custom CSS styles * width: "100%", * height: auto, * maxWidth: 512px, * minHeight: 512px */ });.glitcher– is a CSS-selector you need to change for your own. You can use several initialisation for different image groups. For examples:// Custom images selector init("#header-full-screen-image", { /** * Custom CSS styles * width: "100%", * height: auto, * maxWidth: 512px, * minHeight: 512px */ }); init(".sport-price-card img", { /** * Custom CSS styles * width: "100%", * height: auto, * maxWidth: 512px, * minHeight: 512px */ });- Enter your own CSS-selector of images/blocks you want to apply glitch effect instead default
.glitcher. You will probably have to add extra styles to transformed images. You can do this in
Custom CSS stylessection. Example:// Custom images selector init("#header-full-screen-image", { /* Custom CSS styles */ width: "100%", height: 95vh, minHeight: 512px }); init(".sport-price-card img", { /* Custom CSS styles */ width: "100%", height: auto, aspectRatio: 1.62 / 1 });
For more styles parameters please visit https://www.w3schools.com/jsref/dom_obj_style.asp
4. Script parameters (optional)
Script have an parameters you can edit to get you page more perfect.
adaptiveSizes
Turn on (true) or turn off (false) adaptive image size mode. This mode makes final images wide and keep ratio of previous image/block. If it disabled (false) final images gets fixed width and height by prevuos images.
delay
Images animation delay. Each images with glitch effect gets random delay for start effect. You can enter you own time range.
autoMax
Maximum amount of delay based on amount of glitch elements.
If you want you have adaptive max animation delay turn this params on (true). Turn this param off if you want to use fixed max value only.
max
Maximum seconds of delay for start animation.
min
Minimum seconds of delay for start animation.
If you have any questions feel free to visit support page on CodeCanyon and I'll try to help you!